
Shoulder injuries can be debilitating, limiting your range of motion. Whether you’re recovering from a sports-related injury or dealing with chronic shoulder pain, proper taping is key.
So in this guide, we will equip you with the knowledge and skills to tape your shoulder effectively. Read on as we walk you through each step, with some valuable dos and don’ts to ensure optimal results.
Note: Shoulder injuries can vary in nature and severity. An accurate diagnosis from a healthcare professional is vital to ensure appropriate treatment.
The Need for Shoulder Taping
 (
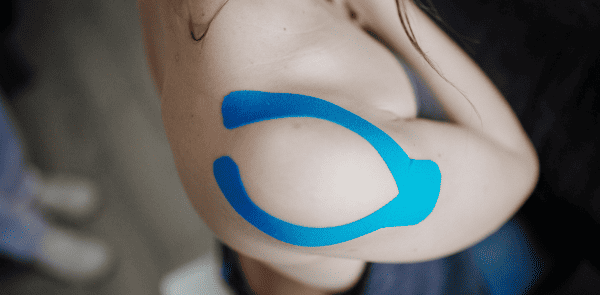
(Common shoulder injuries include rotator cuff strains, shoulder impingement, dislocations, and instability. Taping can provide much-needed support and stability to the shoulder joint. It reduces pain and prevents further damage during activities.
The benefits of shoulder taping extend beyond pain management. It helps to enhance proprioception, or the body’s awareness of joint position. This enables better control and coordination during movements. Kinesiology tape can also promote proper alignment and muscle activation. This aids in injury prevention and optimising performance.
Learning how to tape a shoulder is valuable. But it’s essential to stress the importance of seeking professional advice. Their expertise ensures that you receive the most appropriate treatment.
Preparing for Shoulder Taping
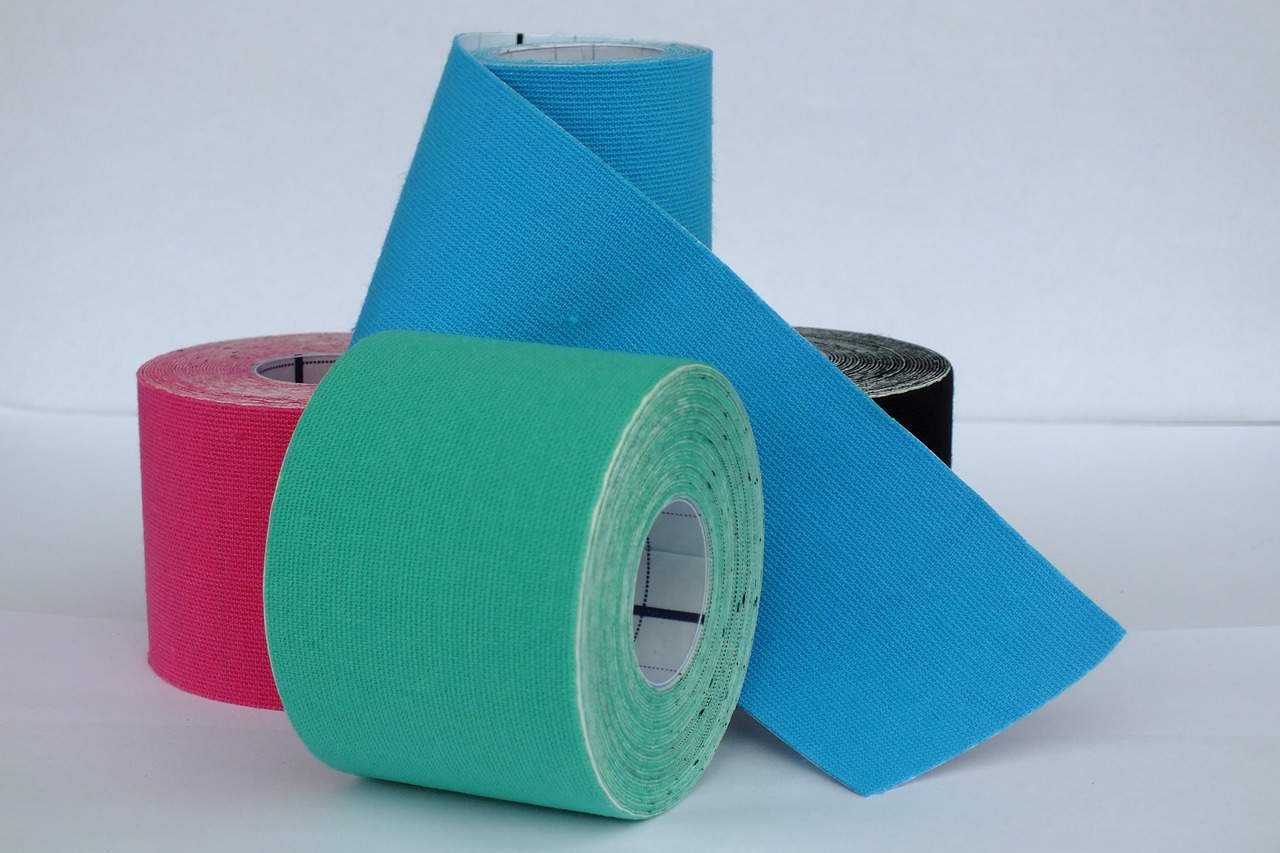 (
(First, you’ll need athletic or kinesiology tape, often used for shoulder taping.
Athletic tape is rigid and provides strong support. It’s suitable for acute injuries or conditions requiring maximum stability. In contrast, kinesiology tape is flexible and stretchy. It mimics skin properties and allows for a wider range of motion. It’s often preferred for chronic conditions or when a more dynamic approach is desired.
Before applying the tape, prepare the shoulder area. Start by cleaning the skin with mild soap and water. Make sure it’s free from dirt, oils, or lotions that may interfere with tape adhesion. Pat the area dry to create a clean, dry surface for optimal tape adherence.
Guide to Shoulder Taping
 (
(Step 1: Positioning and placement
To begin, ensure proper positioning of the shoulder. Relax the muscles and keep the arm at a comfortable angle. Next, locate the bony landmarks for accurate tape placement.
Start by applying the initial anchor point just above the acromion process. This should create a solid foundation for the taping process.
Step 2: Anchoring and support
To provide support, create an anchor point by attaching the tape securely to the skin. Apply tension to the tape while gently pulling the shoulder downward or backwards. This can depend on the injury or condition.
This technique helps stabilise the joint and minimise excessive movement. Aim for a 15-25% stretch of the tape for optimal support, remembering not to overtighten.
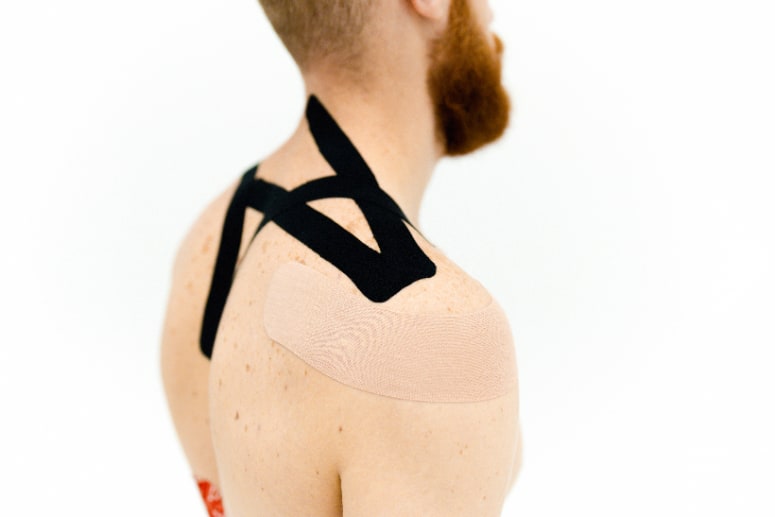
Step 3: Applying the strips
Apply additional strips of tape to enhance support and stability. Start from the anchor point, overlapping the strips by about half their width. This layering technique creates a reinforced effect, providing increased support to the shoulder.
Gradually work your way around the shoulder. Make sure the strips are applied smoothly and without any wrinkles.
Step 4: Securing the tape
To prevent peeling or loosening of the tape, secure the ends properly. Rub the tape gently to activate the adhesive and ensure it adheres firmly. Consider using extra adhesive or tape adherent products for added security. This is especially important during intense physical activities or prolonged use.
Dos and Don’ts of Shoulder Taping
Keep in mind some of these important considerations and precautions:
Skin sensitivity
Do you have sensitive or irritated skin? If so, consider using hypoallergenic tape or applying a protective barrier before taping. You may use a pre-wrap or under wrap.
Proper tension
Be mindful of the tension applied while taping. Avoid overstretching the tape, as it may impede circulation or cause discomfort. Aim for a balance between support and comfort.
Range of motion
Ensure that taping allows for a reasonable range of motion. It should not restrict movement excessively. Instead, it should provide support within a comfortable and functional range.
Common mistakes and pitfalls to avoid
- Applying tape over broken or damaged skin.
- Wrinkling or folding the tape during application can compromise its effectiveness.
- Failing to secure the ends of the tape properly. This can lead to premature peeling or loosening.
Tips for comfort and effectiveness
- Remove any excess hair on the shoulder area to improve tape adherence.
- Avoid applying tape too tightly, as it can cause discomfort and restrict circulation.
- Listen to your body. See if you experience persistent pain, discomfort, or any adverse reactions. If so, remove the tapes and consult a healthcare professional.
Remember, proper technique and attentive care are key to achieving optimal results. Seeking medical advice for persistent or severe shoulder pain is crucial.