
Taking care of your knees is essential to keep you moving and grooving. One valuable technique to provide stability and support to your knees is taping. In this guide, we’ll walk you through the step-by-step process of taping your knee like a pro!
Using kinesiology tape on your knee can be highly beneficial. But note that there are situations where seeking professional help is crucial. If you meet the following points below, it’s best to consult with a healthcare professional:
- experiencing severe pain
- have a pre-existing knee condition
- recently suffered a serious injury
They can assess your needs and guide you towards the most appropriate taping methods. Now, let’s lace up those sneakers and learn how to tape your knee properly!
Preparing for Knee Taping
 (
(Make sure we have everything you need to get started. Here are the necessary materials and tools you’ll need:
- Knee tape: Choose a high-quality, elastic adhesive specifically designed for knee taping. Look for brands that offer good adhesion and flexibility.
- Scissors: A pair of sharp scissors will come in handy for cutting the tape to the desired length.
- Skin-prepping solution: Use an alcohol-based skin-prepping solution. Alternatively, use wipes to clean the knee area thoroughly before taping. This helps remove oils, dirt, and sweat, ensuring better tape adhesion.
Once you have your materials ready, it’s time to prepare the knee area for taping. Follow these tips for a clean and optimal taping surface:
- Clean the skin: Gently wash the knee area with mild soap and water, then pat it dry. This helps remove any residue that may affect tape adhesion.
- Remove hair: If you have excessive hair on or around the knee, consider shaving or trimming it. This allows the tape to adhere more securely to the skin.
- Avoid lotions and oils: Before taping, make sure your knee is clean. It should be free from lotions, oils, or moisturisers. These substances can create a barrier and prevent the tape from sticking effectively.
Lastly, don’t forget the importance of properly measuring and cutting the tape. Measure the desired length of tape based on your taping technique and the size of your knee. Use the scissors to cut the tape smoothly and evenly.
Guide to Knee Taping
 (
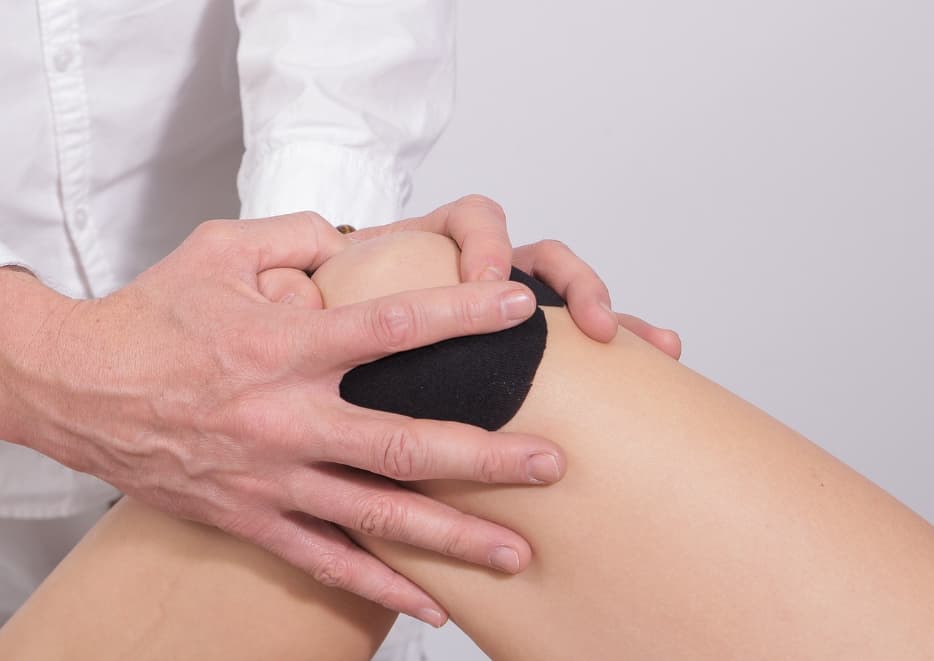
(Step 1: Applying the anchor
Start by applying the anchor at the base of your knee. Here’s how:
- Measure and cut a strip of tape long enough to wrap around the lower part of your knee comfortably.
- Position the tape below the kneecap, ensuring it adheres firmly to the skin.
- Wrap the tape around the back of your knee, overlapping it slightly with each turn.
- Continue wrapping until you reach the starting point. This should create a secure anchor that holds the taping in place.
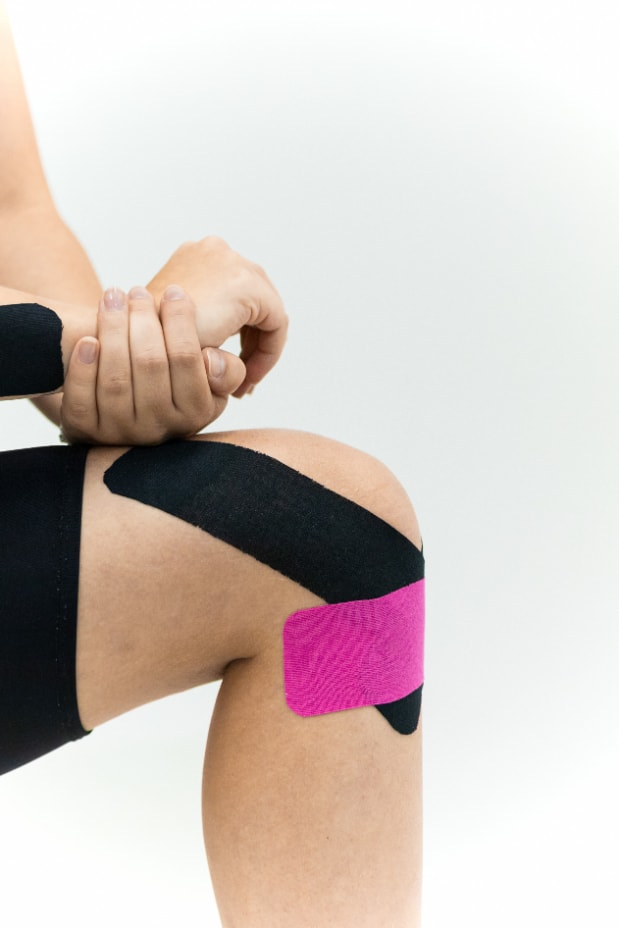
Step 2: Creating support strips
Support strips help enhance stability and support. Follow these steps:
- Cut several strips of tape, approximately 8-10 inches long, depending on your knee size.
- Apply the first support strip vertically along the inner side of your knee. Start from the anchor and then extend upwards.
- Repeat this process with additional support strips. Evenly space them around the knee to provide comprehensive support.
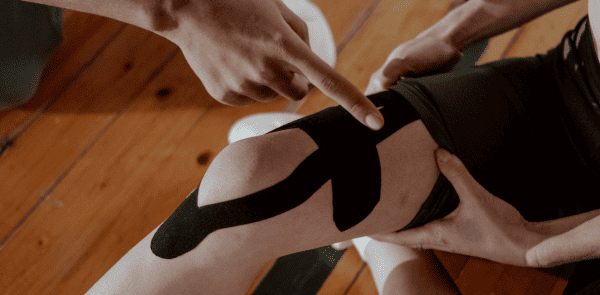
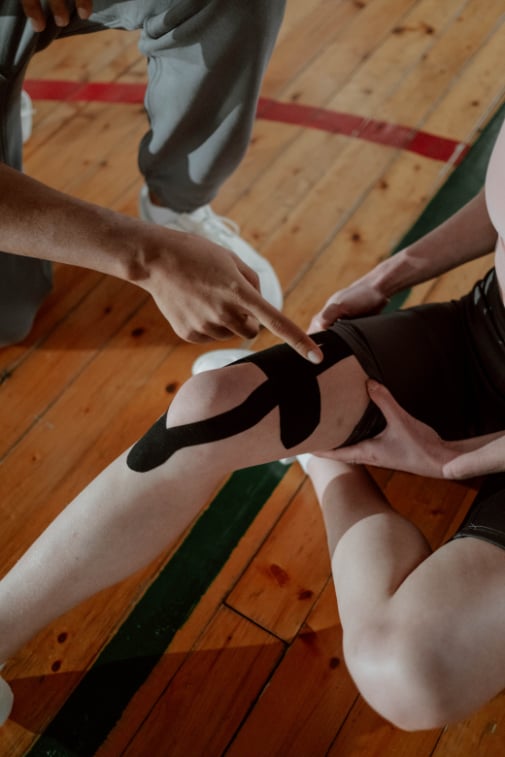
Step 3: Applying cross strips
To reinforce the taping, use cross strips in the following manner:
- Cut two long strips of tape, long enough to crisscross over the knee.
- Diagonally apply one strip across the knee towards the inner side. Start from the outer side of your knee.
- Cut the second strip, crossing it diagonally in the opposite direction, forming an “X” shape.
- Ensure the cross strips maintain tension and provide support without being excessively tight.
Step 4: Securing the tape
To finish the taping process securely, follow these steps:
- Apply a final anchor strip horizontally above the cross strips, encircling the knee.
- Press down on all the tape edges to ensure proper adhesion.
- Smooth out any wrinkles or creases to prevent premature loosening of the tape.
Remember, practice makes perfect. Don’t hesitate to adjust the technique based on your comfort and specific needs.
When to Seek Professional Help
 (
(These are some situations where it is recommended to consult a healthcare professional:
Severe pain
Do you experience intense or persistent pain in your knee? If so, it’s best to seek professional guidance to determine the underlying cause. They can also provide you with appropriate treatment.
Pre-existing knee conditions
Such conditions can include ligament damage, arthritis, or instability. Consulting a healthcare professional will be helpful. They can provide specialised taping techniques tailored to your specific condition.
Recent serious injury
In cases of recent significant knee injuries, consult a healthcare professional. Such injuries can include a torn ligament or meniscus. Doing so can ensure proper diagnosis, treatment, and taping recommendations.
Healthcare professionals have the expertise to assess your situation and provide personalised guidance. They can offer insights into specialised taping techniques for various conditions. Their expertise will ensure you receive the most ideal care for your knee health.