
Ankle Taping is just one of many body parts that can be secured for prevention and treatment of sports injuries. There’s a vast array of different techniques used not just for each body part, but for each area of injury themselves, depending on the condition.
We must point out, this is no alternative to visiting a chartered physiotherapist in order to get your injury checked out, and we always reccomend this is your first port of call when suffering and injury or feeling weakness and instabilty in a joint. If you already have, you might have been told that the point of any tape job is to limit unwaned movement at a joint or to offload the pressure on the anatomical structure where the weakness or instability has been identified.
Because there are a huge number of structures that could require support there is no single definitive taping technique. Therefore, the taping featured in this guide provides an outline only, with a degree of improvisation necessary for each specific problem.
Before we show you how to fully tape up your weak or unstable ankle to help prevent further injuries. Let’s go over some taping basics.
- Taping should never be used as a substitute for treatment by a qualified healthcare professional. Always make sure an injury is assessed fully by a qualified healthcare professional before a taping technique is used. Taping is contraindicated if the patient has an allergy to the materials used, if there is active infection or irritation of the skin or if the circulation and/or nerve supply is compromised.
- The area to be taped should be clean and dry. Ideally the area should shaved to be free of hairs. If not, an underwrap should be used. This is particularly necessary at the back of the knee or elbow, where adhesive tape on the skin can cause irritation.
- Tape should be applied smoothly, taking care not to cause any wrinkles which can be uncomfortable for the athlete and even cause blisters.
- Once applied, the tape should be checked to make sure the athlete is comfortable with it. The circulation and sensation of a taped area should be double checked. If the skin is excessively pale or blueish, cold or there is a lack of sensation, then the tape is too tight and should be removed immediately.
- Following activity, a tape cutter or bandage scissors should be used to remove the tape. Adhesive remover should be used to help ease off the tape. Tape should not be left on for too long in case skin irritation or breakdown occurs.
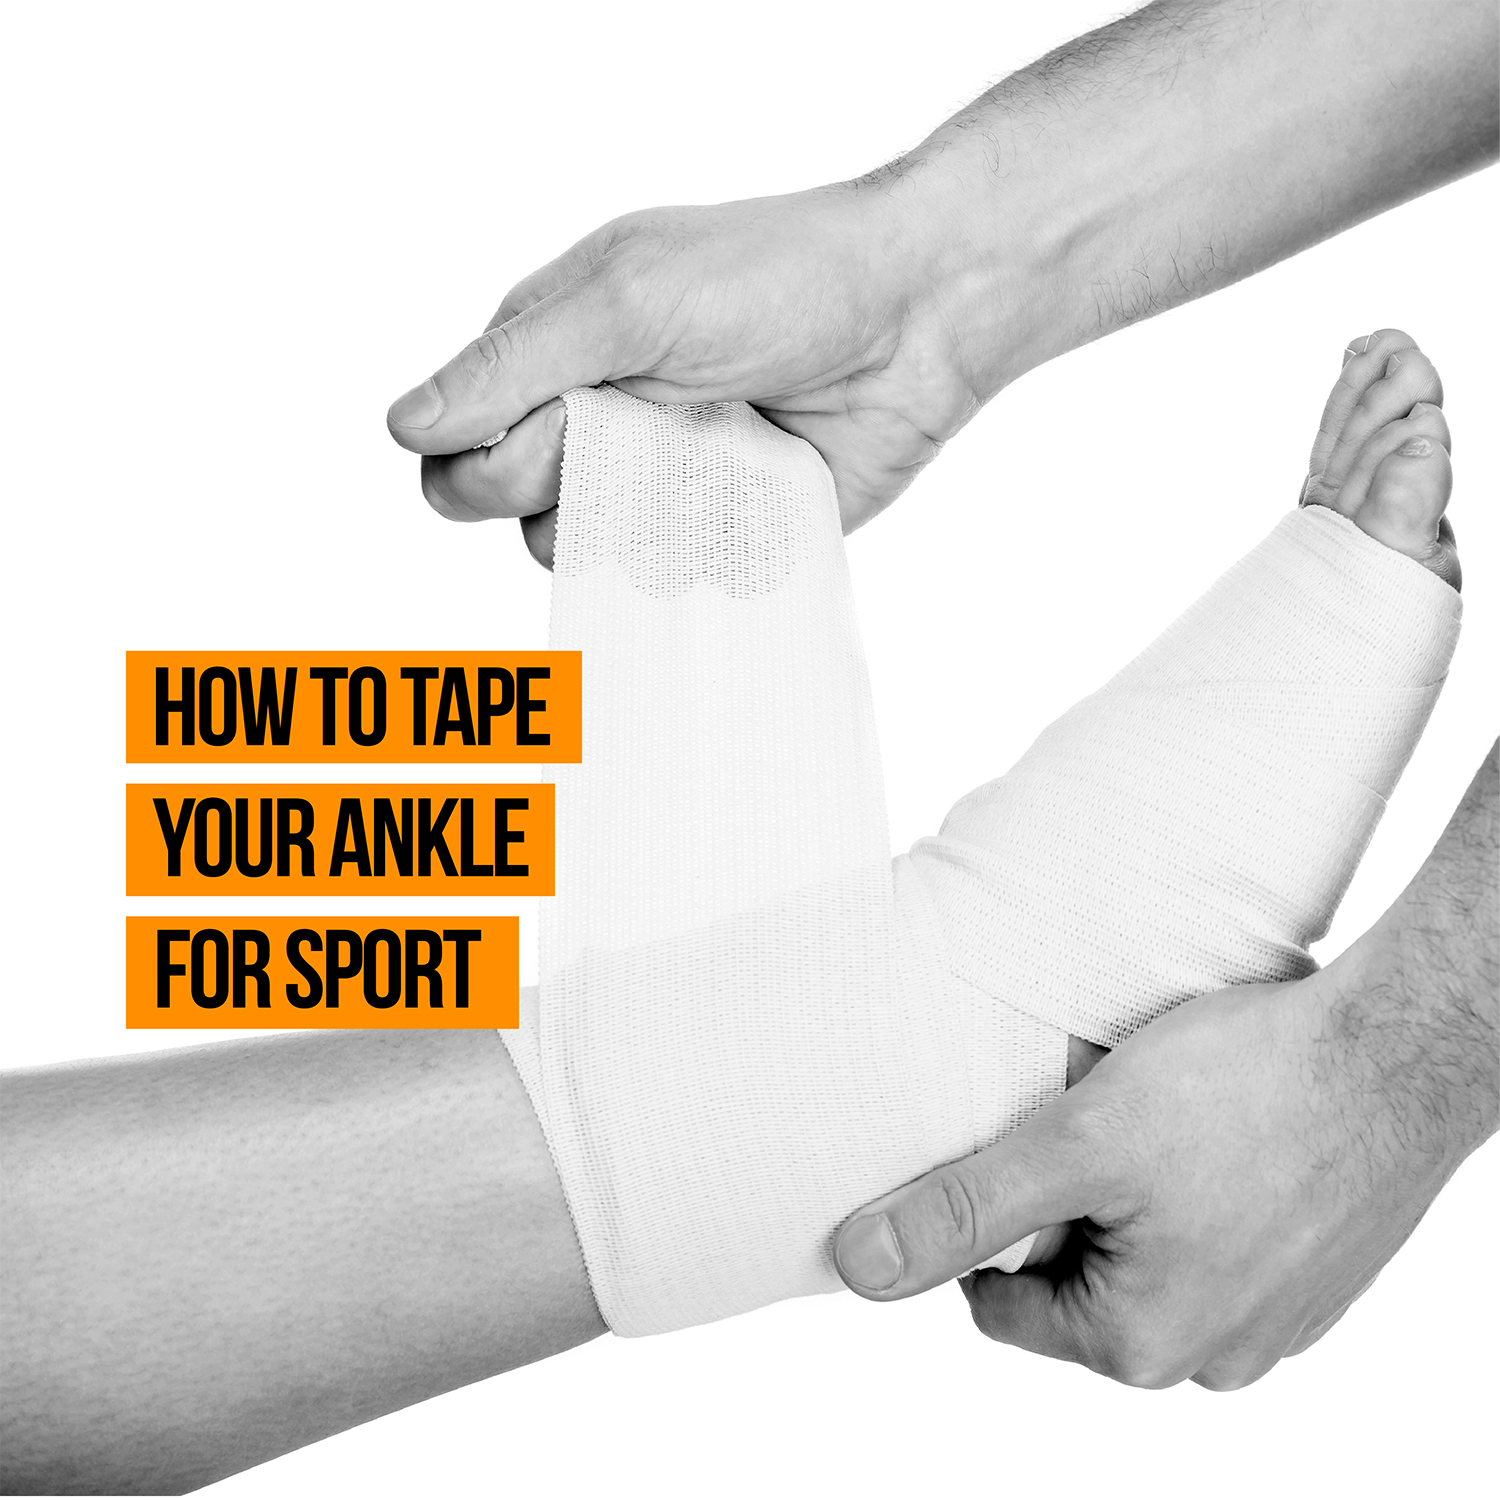
Preventative Full Ankle Taping
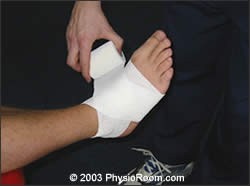
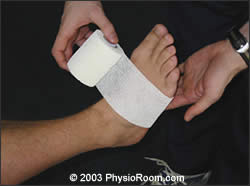 Step 1 – Holding the tape on the bottom of the foot, start in the forefoot.
 Step 2 – Then guide the tape diagonally up the foot…
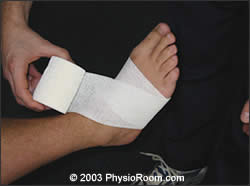
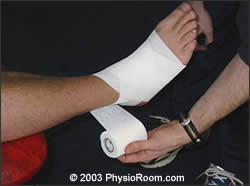
 Step 3 – And come around the back of the heel bone
 Step 4 – Then come round smoothly and go back over the mid-foot diagonally.
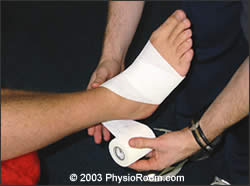
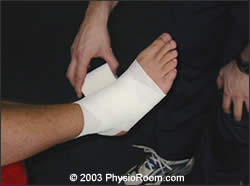
 Step 5 – Then under the foot and back over diagonally again, a little higher this time.
 Step 6 – Then go back around the heel a little higher this time.
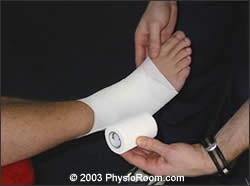
 Step 7 – Then diagonally forwards and around the foot again.
 Step 8 – Smooth the bandage under the heel and pull upwards, giving support to the lateral ankle ligaments.
 Step 9 – Then come round the heel again.
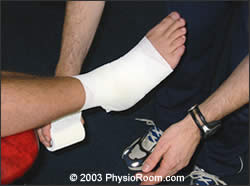 Step 10 – And finish off just above the ankle.
You’re done!
To take a closer look at some of our tapes, check out the Taping & Strapping section of our online store!