
Maintaining an active lifestyle can be a challenge. But what if you could get a full-body workout without expensive equipment or a trip to the gym? Enter resistance bands, a versatile and portable fitness tool that can help you build strength, increase flexibility, and tone your muscles. In this article, we’ll explore the various benefits of resistance bands and provide you with a comprehensive guide on how to use them effectively.
Understanding Resistance Bands
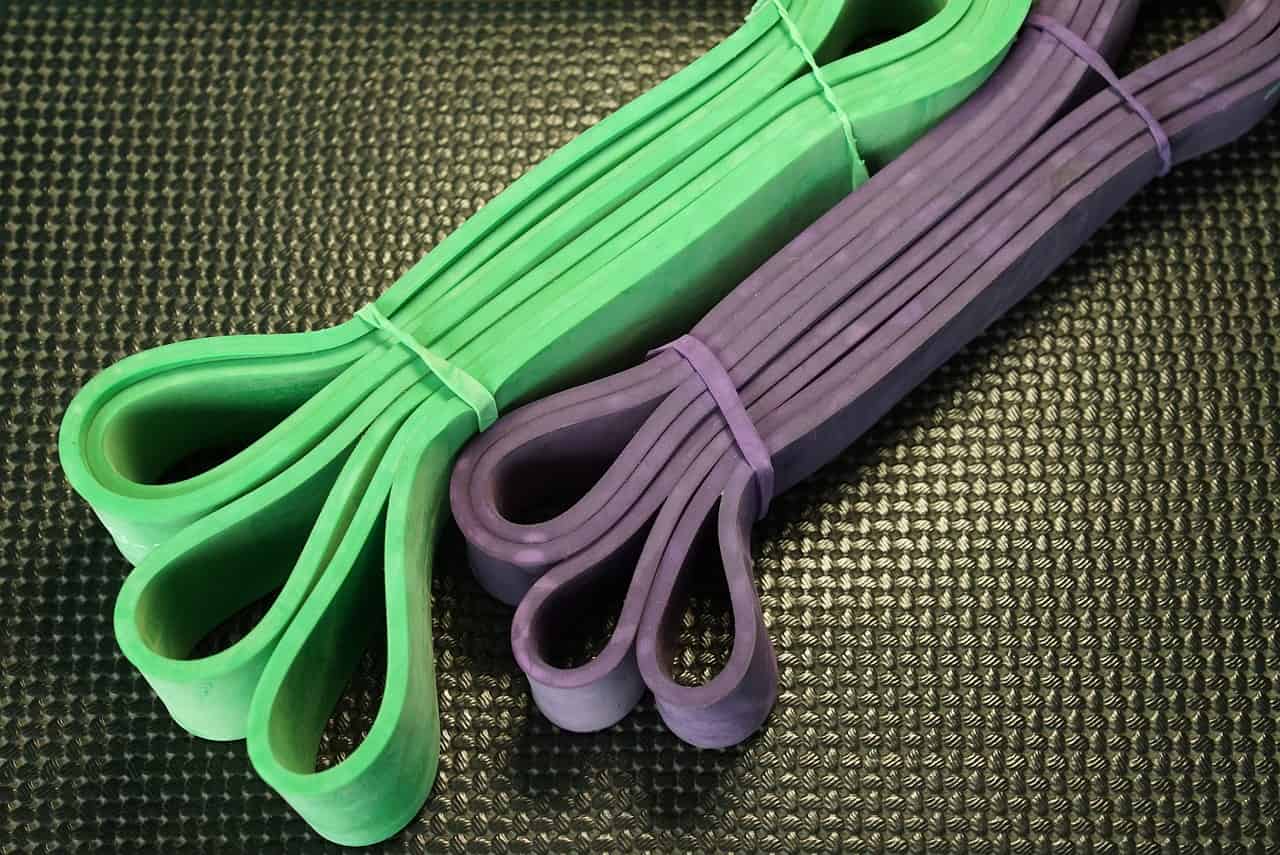
Resistance bands are elastic bands made from latex or fabric that provide resistance when stretched. They come in various shapes, sizes, and resistance levels, making them suitable for users of all fitness levels. The different levels of resistance are typically colour-coded, with lighter bands offering less resistance and darker bands providing more challenge.
Benefits of Using Resistance Bands
Portability
Resistance bands are lightweight and compact, making them perfect for home workouts, travelling, or exercising on the go. They can be easily folded or rolled up to fit into a small bag or suitcase.
Versatility
Whether you’re a beginner or an advanced athlete, resistance bands can be tailored to your fitness level. With a single band or a set of bands, you can target every major muscle group and perform a wide range of exercises, including strength training, stretching, and rehabilitation exercises.
Joint-Friendly
Unlike heavy weights, resistance bands offer a smooth, constant tension throughout the entire range of motion. This feature reduces stress on your joints and lowers the risk of injuries, making them an excellent option for individuals with joint problems or those recovering from injuries.
Added Challenge
Resistance bands provide a variable resistance that increases as you stretch them. This means that the exercise becomes more challenging as you reach the peak of each movement, activating your muscles more effectively and promoting muscle growth and toning.
Getting Started
- Choose the right band. Select a band with appropriate resistance to match your current fitness level. If you’re unsure, start with a medium resistance band, as you can always adjust the difficulty by altering the band tension or using multiple bands simultaneously.
- Warm-up. Before diving into your workout, warm up your muscles with some light aerobic exercises or dynamic stretches to prepare them for the resistance training.
- Exercise Form. Proper form is crucial for effective and safe workouts. Pay attention to your posture, engage your core muscles, and maintain control throughout each exercise. Focus on slow, controlled movements and avoid jerking or snapping the band, as this can lead to injury.
Sample Resistance Band Exercises
- Squats: Stand on the resistance band with your feet shoulder-width apart, holding the handles or the band itself at shoulder height. Lower into a squat position, keeping your knees aligned with your toes, and then return to the starting position. This exercise targets your glutes, quads, and hamstrings.
- Bicep Curls: Stand on the middle of the resistance band, holding the handles with your palms facing forward. Keep your elbows close to your sides and curl your arms upward, contracting your bicep muscles. Slowly lower your arms back down. This exercise focuses on your biceps and forearms.
- Seated Row: Sit on the floor with your legs extended and loop the band around your feet. Hold the band handles, keeping your arms straight. Pull the band toward your chest, squeezing your shoulder blades together. Return to the starting position. The seated row targets your back, shoulders, and arms.
- Glute Bridge: Lie on your back with your knees bent and the resistance band looped around your thighs, just above your knees. Place your feet hip-width apart, flat on the floor. Press through your heels, lift your hips off the ground, and squeeze your glutes at the top. Lower back down and repeat. This exercise engages your glutes and hamstrings.
- Resistance Band Pull-Up: If you’re working towards doing pull-ups but still building the necessary upper body strength, resistance bands can assist you in the process. Begin by attaching the resistance band securely to a pull-up bar or any sturdy overhead structure. Step into the loop or wrap it around your feet or knees, depending on the band’s length and your preference. Grab the bar with an overhand grip, slightly wider than shoulder-width apart. As you pull yourself up, the band will provide assistance, reducing the amount of body weight you have to lift. Focus on engaging your back muscles and pulling your chest towards the bar. Lower yourself back down with control and repeat for the desired number of repetitions. Gradually decrease the assistance provided by the band by using a lighter resistance or progressing to a thinner band as your strength improves.
Progression and Challenge
As you become more comfortable with resistance bands, you can increase the difficulty by using bands with higher resistance levels, combining bands for added tension, or incorporating advanced exercises. Experiment with different band positions, grips, and angles to target specific muscle groups and keep your workouts challenging and exciting.
Resistance bands are a fantastic tool for achieving a full-body workout, regardless of your location or fitness level. They offer versatility, portability, and joint-friendly resistance, making them suitable for beginners and advanced athletes alike. By following the guidelines in this article and incorporating resistance bands into your fitness routine, you’ll be well on your way to building strength, increasing flexibility, and sculpting a lean and toned physique. So, grab those bands and get ready to unleash your fitness potential anytime, anywhere!