

Resistance bands are known for their versatility, convenience, and effectiveness. Incorporating resistance band exercises into your routine can help you:
- build strength
- improve flexibility
- enhance overall fitness
In this how-to guide, we’ll explore the fundamentals of exercising with the bands. Step-by-step instructions for various exercises and tips to maximise your results also await!
Ready to take your workouts to the next level with the power of resistance bands?
Getting Started
 (Image Credit: Public Domain Pictures)
Resistance bands are versatile fitness tools that come in various types. Understanding the different types and knowing how to choose the right band for your fitness goals and level is essential. Additionally, proper form and technique are crucial for maximising the benefits.
Types of resistance bands
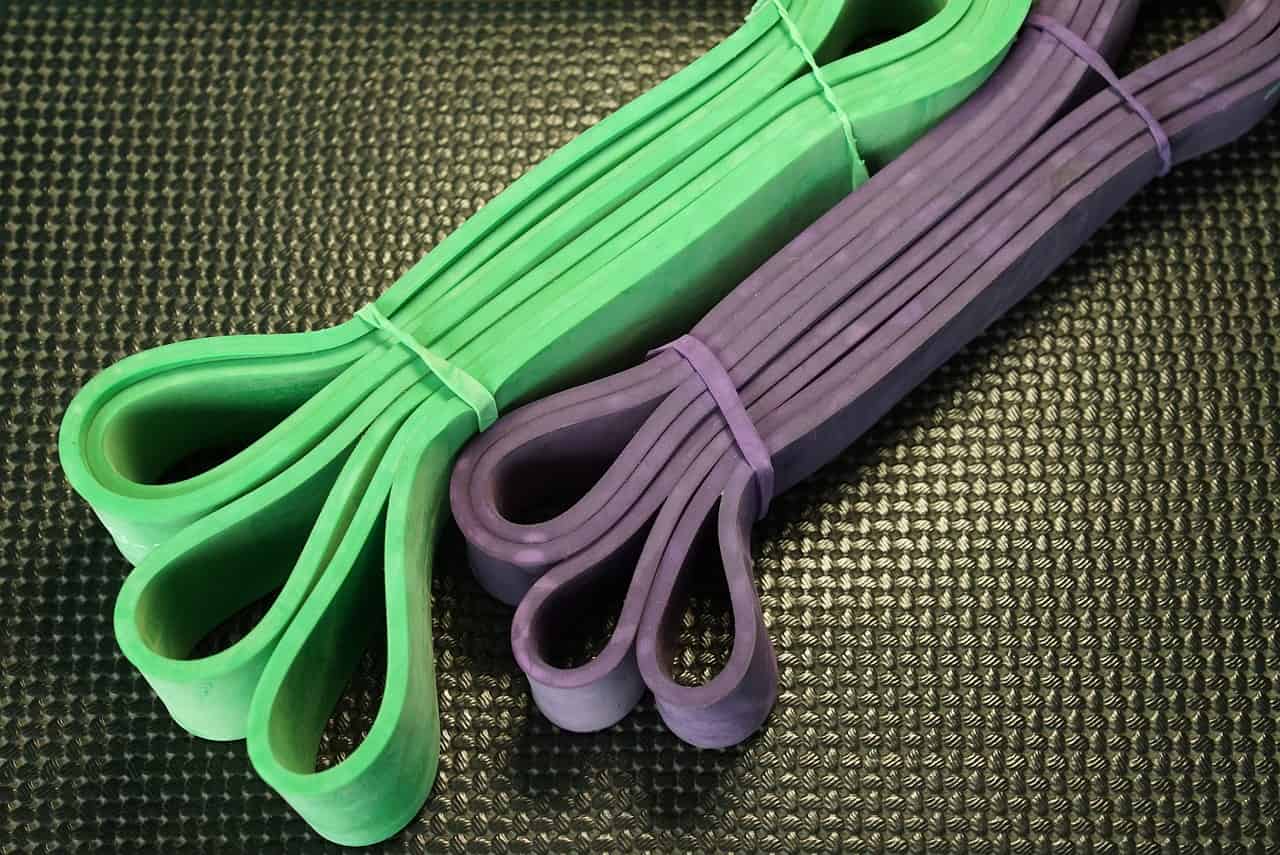 (
(Resistance bands come in three primary types. Each offers its own perks and is suitable for different exercises and fitness levels.
- Loop bands. These bands form a continuous loop and are used for lower body exercises, e.g. squats and glute bridges. They provide resistance throughout the entire range of motion. Available in varying resistance levels.
- Tube bands. Tube bands consist of a flexible tube with handles on both ends. They are versatile and can be used for upper and lower-body exercises.
- Figure-eight bands. These bands have a figure-eight shape with handles on each end. They are particularly useful for targeting the upper body. Figure-eight bands provide a challenging resistance for various pushing and pulling movements.
Choosing the appropriate resistance band
Selecting the right resistance band depends on your fitness goals and fitness level. Consider the following factors:
- Resistance level. Resistance bands are typically colour-coded to indicate their resistance level. Beginners may start with lighter resistance bands. Then, gradually progress to higher resistance as their strength improves.
- Exercise variety. Determine the types of exercises you plan to do. Ensure the resistance band you choose can accommodate those movements effectively.
- Strength and flexibility. Assess your current strength and flexibility to choose a ban. It should challenge you without causing strain or excessive tension.
Maintaining proper form and technique
To maximise the benefits of resistance band exercises and prevent injuries:
- Ensure the resistance band is securely anchored to a stable structure or part of your body. Note: This will depend on the exercise.
- Keep tension in the band throughout the entire range of motion. Focus on controlled, smooth motions and avoid rapid or jerky movements.
- Maintain proper posture and alignment throughout the exercises. Engage your core and avoid excessive leaning or arching.
- Be cautious not to overstretch the band beyond its capacity, as it may snap back and cause injury. Check the band for signs of wear and tear before each use.
Basic Resistance Band Exercises
 (
(1. Bicep curls
- Stand with both feet on the resistance band, holding the handles with an underhand grip.
- Keep your elbows close to your sides and slowly curl your hands toward your shoulders.
- Pause for a moment, then slowly return to the starting position.
- Repeat for the desired number of repetitions.
2. Shoulder presses
- Stand on the resistance band. Position the handles at shoulder height with your palms facing forward.
- Start with your elbows bent and in line with your shoulders.
- Extend your arms upward, fully straightening them.
- Slowly lower your arms back down to the starting position.
- Repeat for the desired number of repetitions.
3. Squats
- Place the resistance band above your knees, maintaining tension throughout the exercise.
- Stand with your feet shoulder-width apart and toes slightly turned out.
- Bend your knees and hips, lowering your body into a squat position. Keep your chest lifted and back straight.
- Push through your heels to return to a standing position.
- Repeat for the desired number of repetitions.
4. Rows
- Secure the resistance band to a stable anchor point and hold the handles with an overhand grip.
- Step back to create tension in the band, keeping your feet shoulder-width apart.
- Bend your knees slightly and hinge forward at the hips, maintaining a neutral spine.
- Pull the handles toward your body, squeezing your shoulder blades together.
- Slowly release and extend your arms back to the starting position.
- Repeat for the desired number of repetitions.
Intermediate and Advanced Resistance Band Exercises
 (
(1. Tricep extensions
- Anchor the resistance band above your head and hold one end with both hands behind your head.
- Keep your elbows stationary and extend your arms upward, fully straightening them.
- Slowly bend your elbows, returning to the starting position.
- To increase difficulty, use a thicker resistance band. Or step farther away from the anchor point.
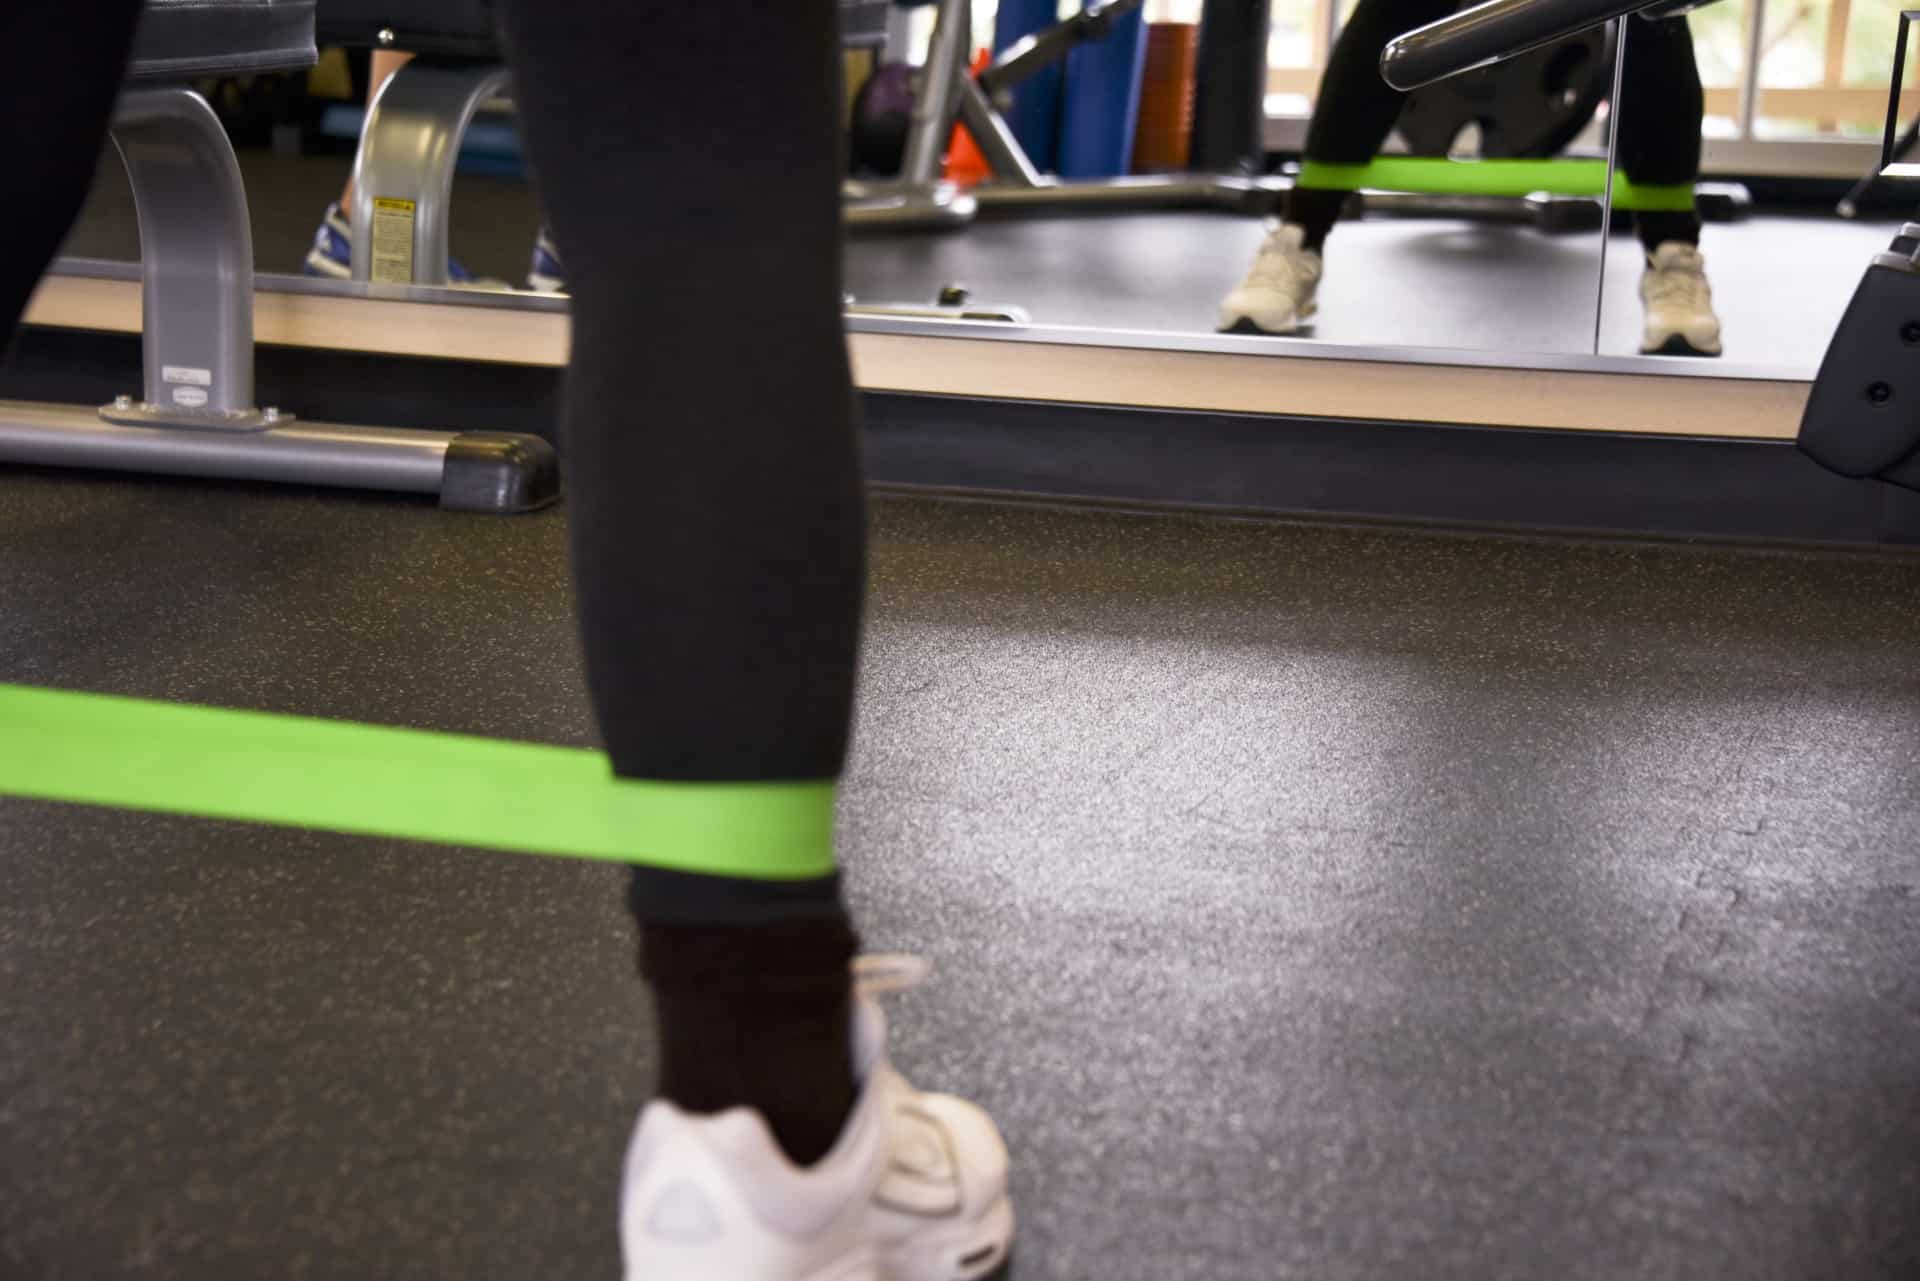
2. Lateral band walks
- Place the resistance band around your legs, just above your knees.
- Stand with your feet shoulder-width apart and slightly bend your knees.
- Take a step to the side with one foot, maintaining tension in the band.
- Bring the other foot toward the first foot, repeating the side-step motion.
- To challenge yourself further, increase the resistance by using a tighter band.
3. Glute bridges
- Lie on your back with your knees bent and feet flat on the floor, hip-width apart.
- Place the resistance band just above your knees.
- Engage your core, squeeze your glutes, and lift your hips off the ground.
- Pause at the top and slowly lower your hips back down.
- For an extra challenge, position the resistance band around your thighs.
4. Woodchops
- Attach the resistance band to a low anchor point or wrap it around a sturdy object.
- Stand with your side facing the anchor point. Hold the band with both hands on your opposite shoulder.
- Rotate your torso diagonally. Pull the band across your body and extend your arms.
- Slowly return to the starting position, resisting the tension of the band.
- Repeat the movement on the other side.
- To progress, increase the resistance. Or, perform the exercise in a split stance for added stability challenges.
Incorporating Resistance Bands into Other Fitness Activities
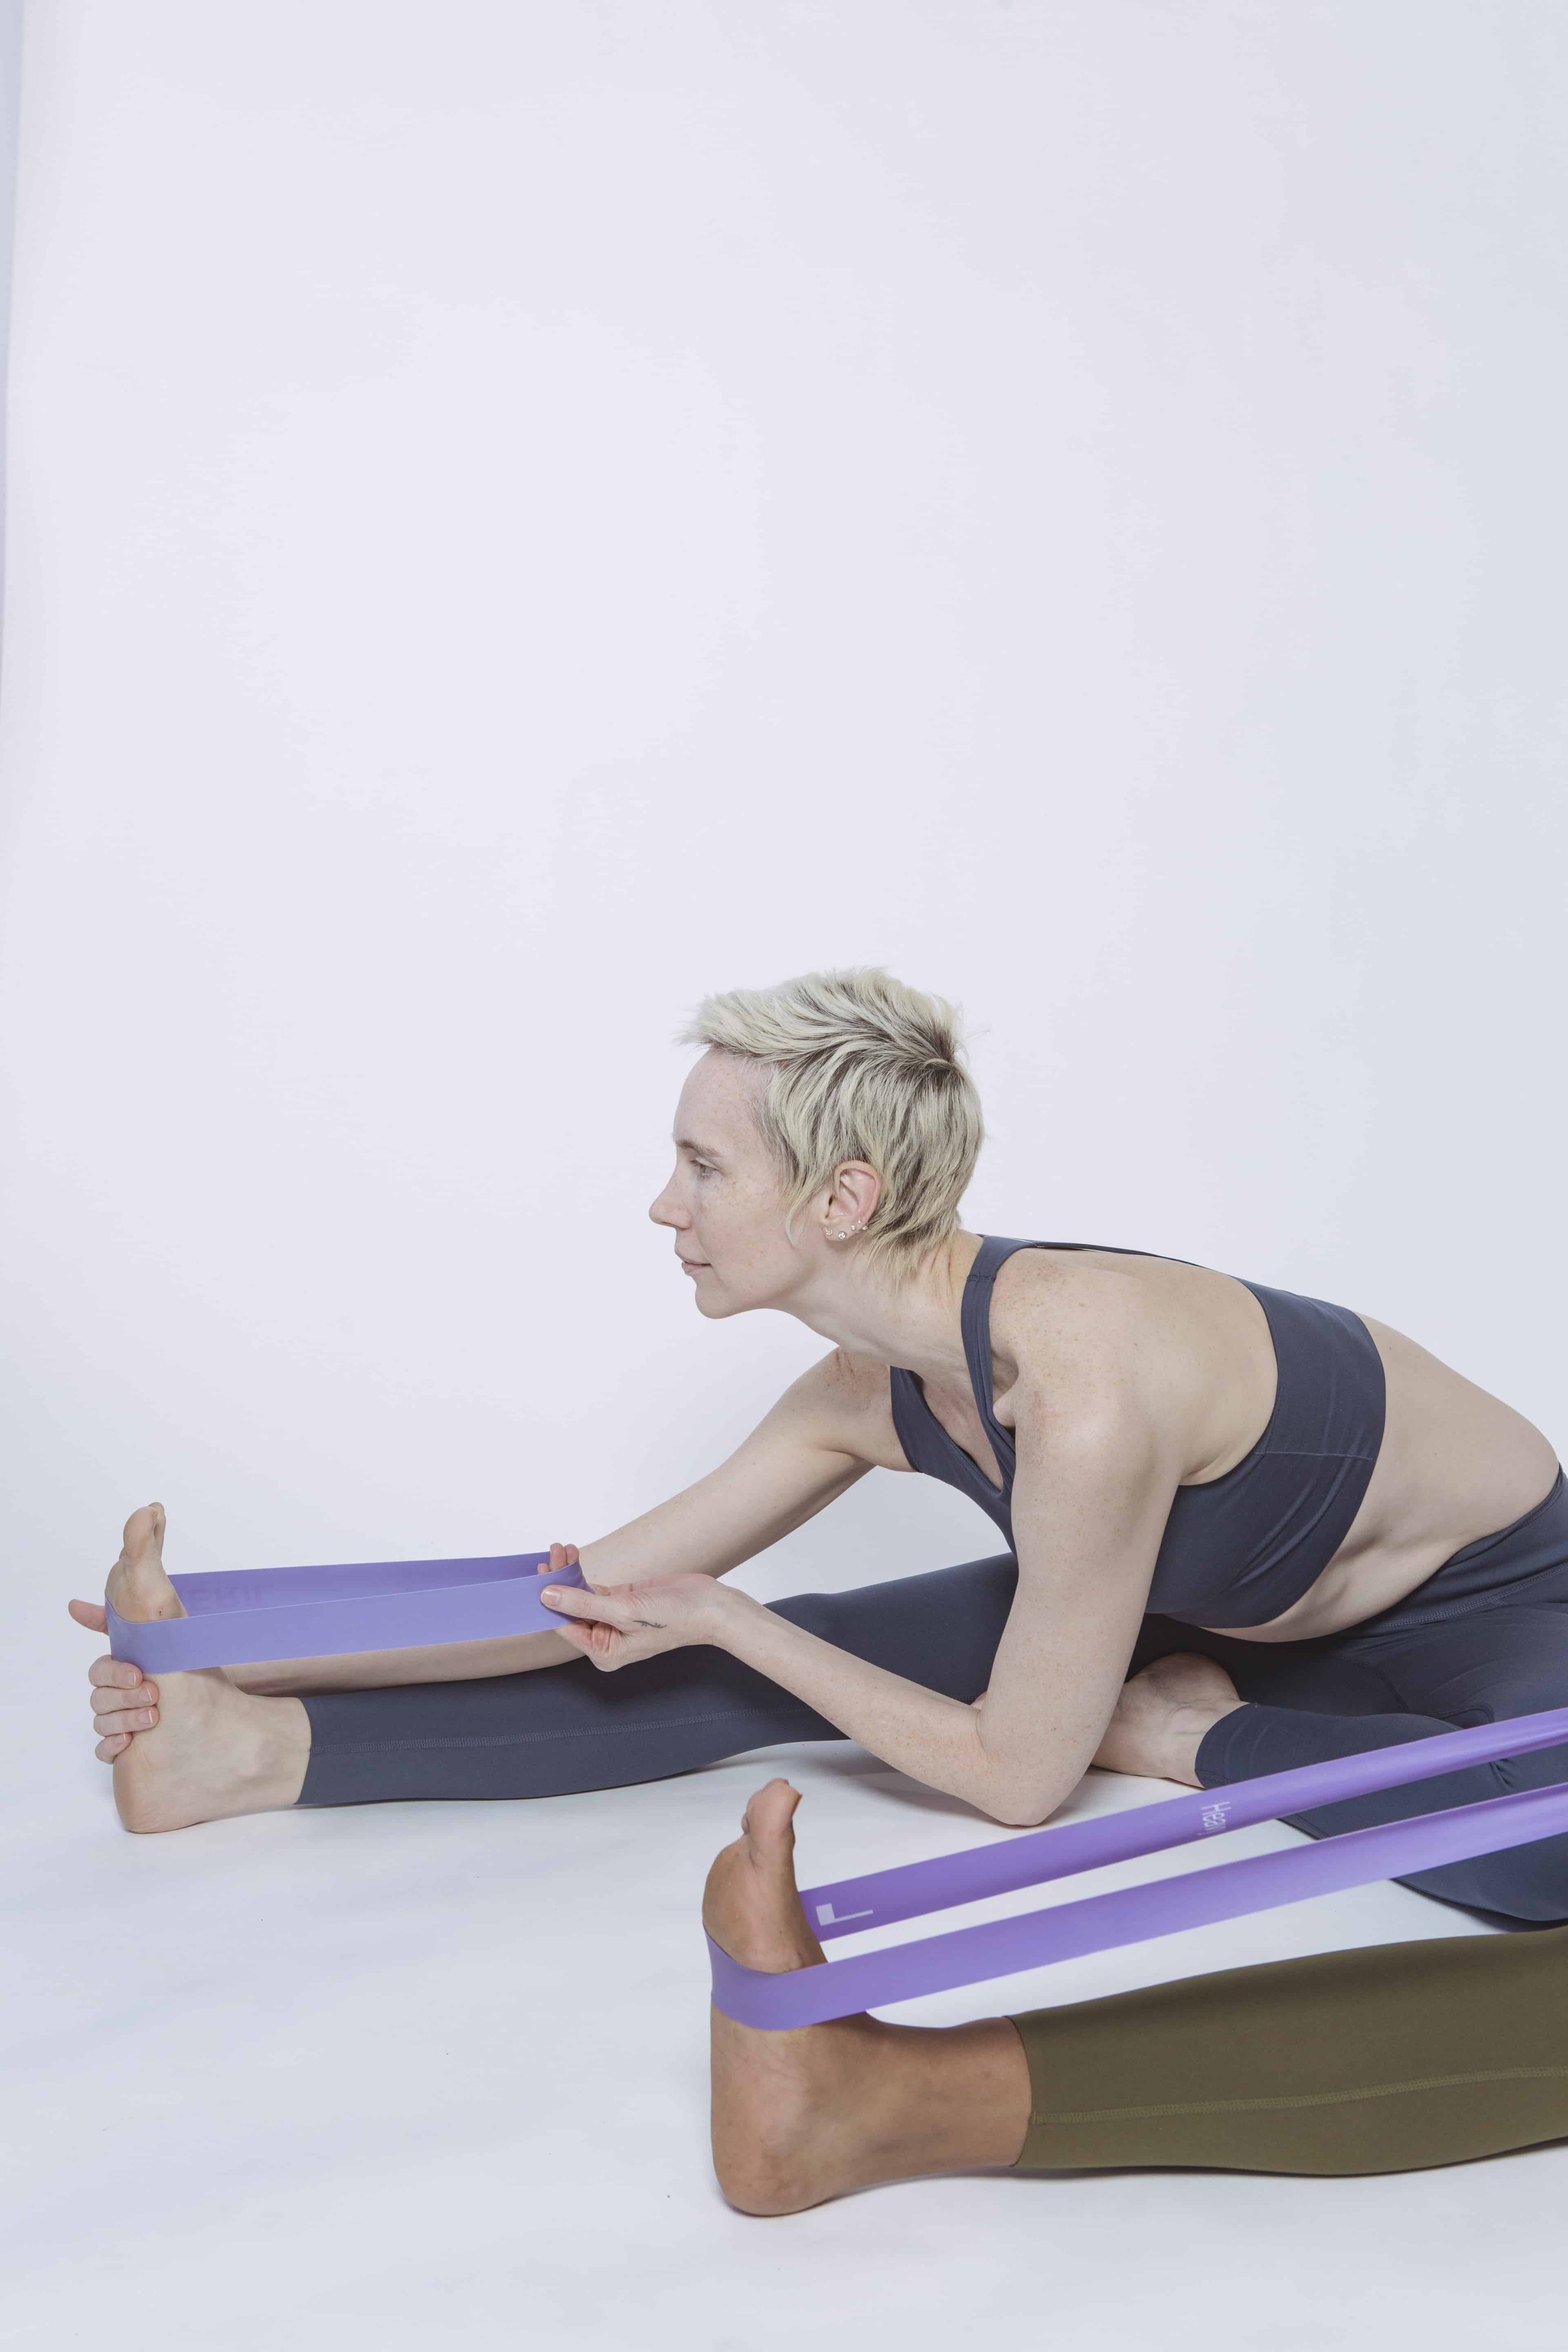 (
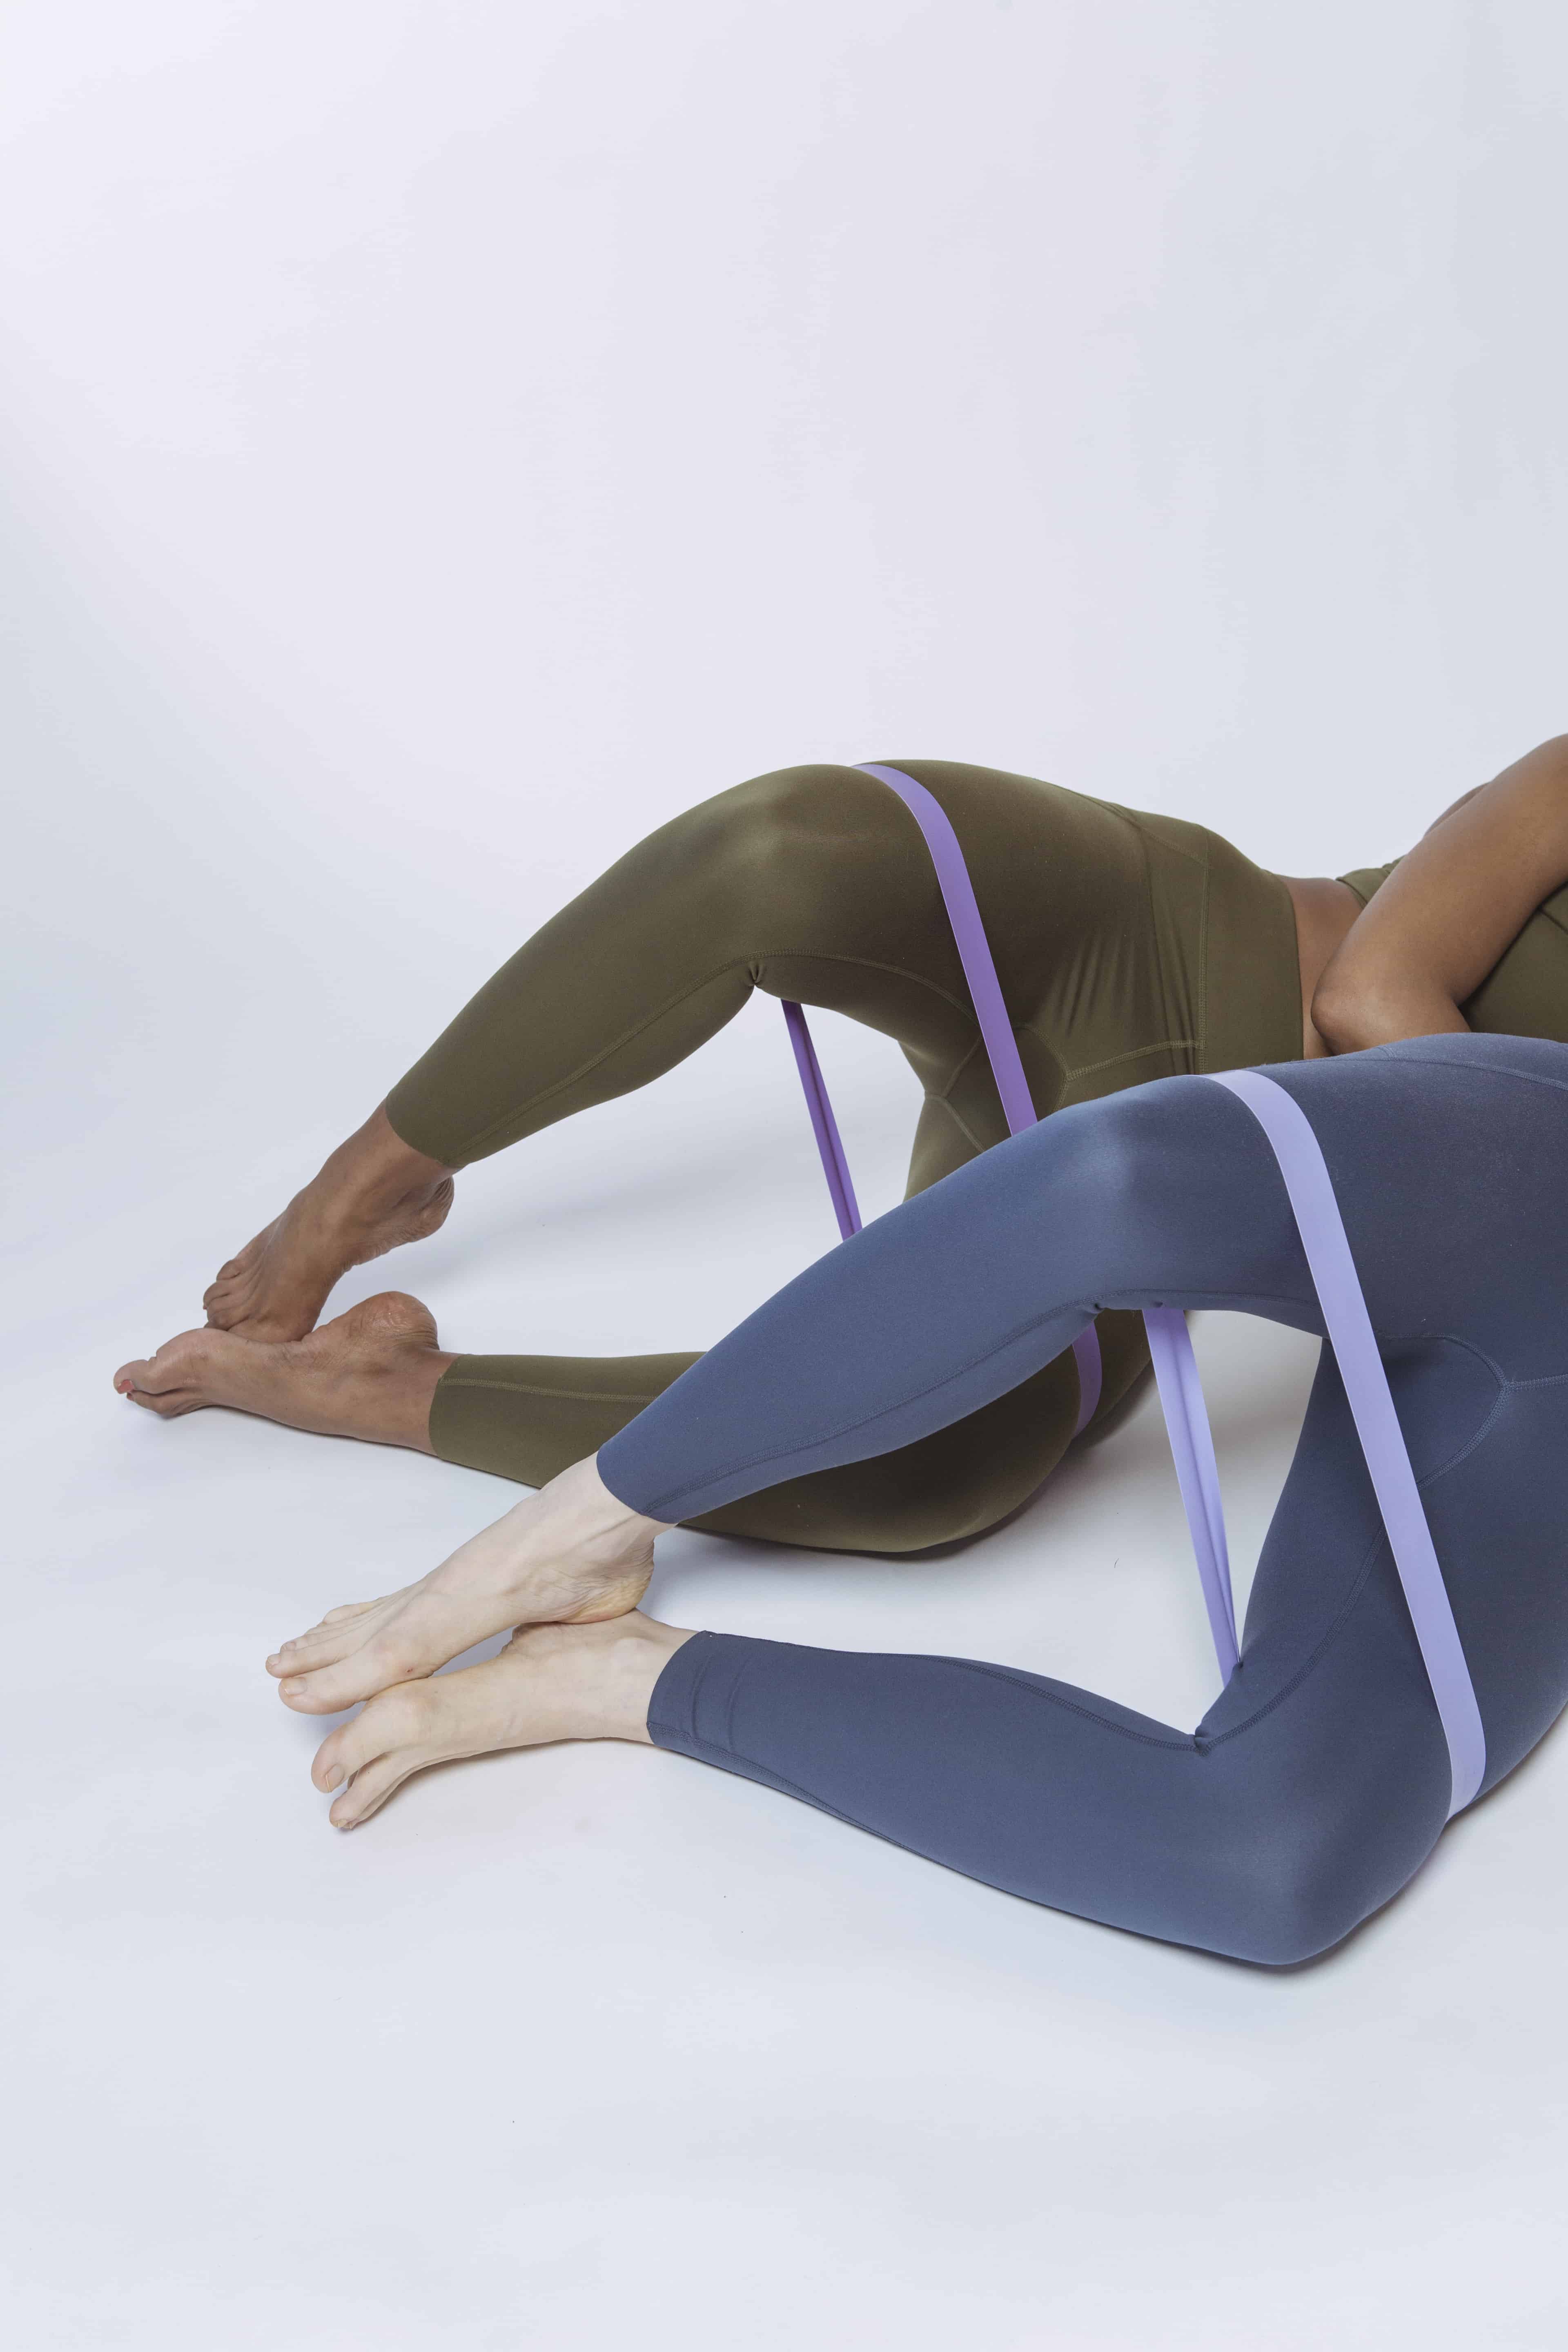
(Yoga
- Use the band for assisted stretches, such as hamstring stretches or shoulder openers.
- Add resistance to standing poses like Tree Pose by placing the band around your arms or thighs.
- Use the band for stability and support in challenging balancing poses.
HIIT workouts
- Use the band for resistance during exercises like squat jumps or lateral lunges.
- Incorporate the band into high-intensity exercises like burpees to engage more muscle groups.
- Include band exercises such as banded push-ups to increase the intensity.
This trick allows you to add variety, increase resistance, and target different muscle groups.
Round-up
Remember to listen to your body. Choose variations or progressions that suit your fitness level. Challenge yourself appropriately while maintaining proper form to avoid injury.